Welcome to our guide on creating your first Exaroton server and seamlessly connecting it to VyHub—the ultimate service for monetizing and managing your game servers. In the following steps, we’ll walk you through the process, making it easy for you to embark on your gaming adventure with Exaroton and optimize your server management with VyHub. Let’s dive in!
Do you prefer a video guide on that topic? You are in luck; we have also published a video on how to create an Exaroton server.

What is Exaroton?
Exaroton, crafted by the developers behind Aternos.org, distinguishes itself as a premium, paid service boasting enhanced functionality and superior performance. With Exaroton, costs are incurred only when the server is active, adopting a pay-as-you-go model. This service stands out with the added benefit of full customization, allowing you to integrate your custom plugins and mods, including essential VyHub integration—capabilities that are limited on Aternos.com. However, if your focus is solely on playing with friends without the need for advanced features, Aternos.org remains a compelling option. For those seeking a free Minecraft server, we’ve also compiled a guide to walk you through the process on Aternos.org.
Ready to Dive In? Here’s How:
1. Visit Exaroton.com and Create Your Account
Begin your Exaroton journey by taking the initial step: creating a free account on https://exaroton.com. Choose a username and set a password. Once your account is created, you’ll be logged in instantly, ready to embark on your server management adventure.
2. Create Your Exaroton Minecraft Server

Proceed to the next step by clicking the “Create Server” button. Here, you’ll choose between Minecraft Java or a Minecraft Bedrock edition. Customize your server by updating its name and modtd. The name becomes part of your server’s address, while modtd is the message displayed in the Minecraft server list. Once customized, click the “Create” button to bring your Minecraft server to life.
3. Start Your Server and Connect to It
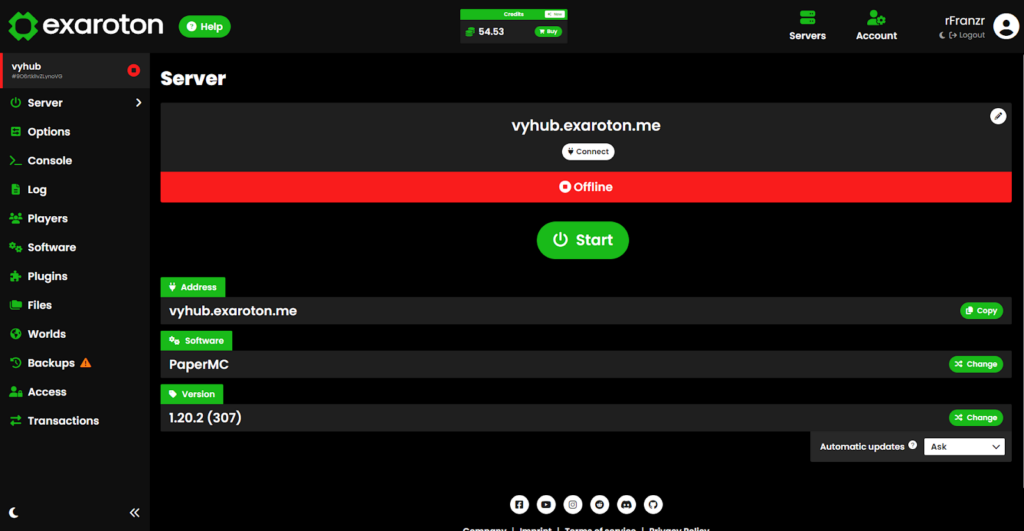
We’re on the final stretch! Continue by starting your server with a click on the “Start” button. Once the server is up and running (indicated by the green banner), congratulations are in order! Now, let’s connect to the server. It’s a breeze—launch Minecraft, navigate to the Multiplayer Menu, and add a server. The server address is the one you chose earlier; in our case, it’s vyhub.exaroton.me. Kudos, you’ve successfully completed the process! Time to dive into your Minecraft adventure.
Installing VyHub on your Exaroton Server
Change the Exaroton Software to Paper

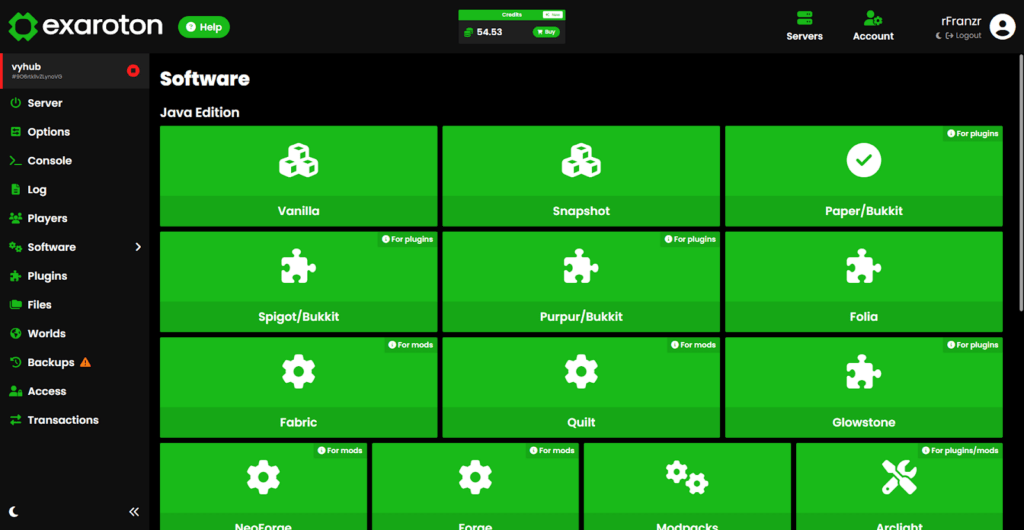
Up to this point, you’ve successfully set up a Vanilla Minecraft Server—a great start. However, for added features like plugins or modpacks, Exaroton has you covered. Head to the “Software” tab, where you can choose the software that suits your needs. In this instance, since we’re installing the VyHub plugin, opt for a Bukkit-compatible software. We recommend Paper for this purpose. Select your preferred software to unlock a world of customization and enhanced functionality for your Minecraft server.
Upload the VyHub Minecraft Plugin
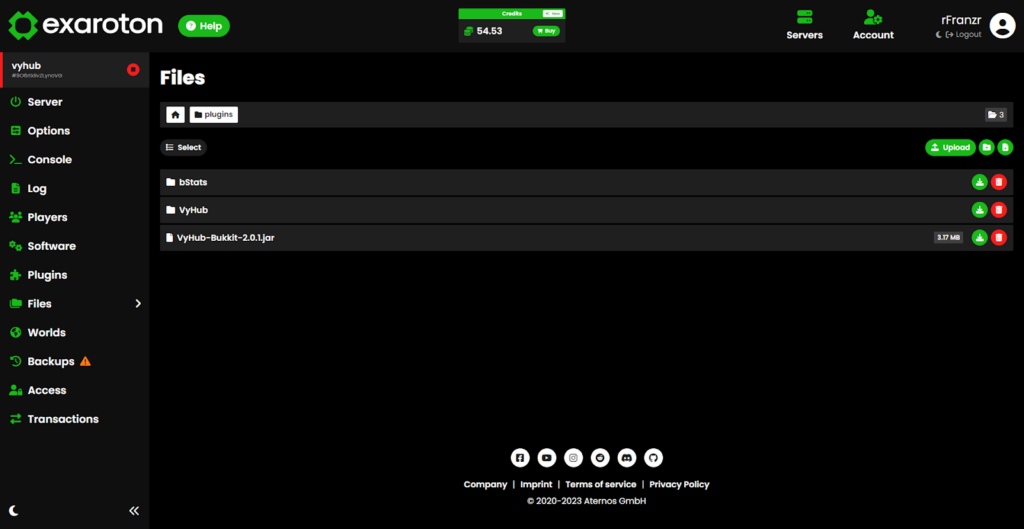
Now, let’s integrate the VyHub plugin into your server. Begin by downloading the VyHub plugin from our GitHub repository. Once you have the VyHub.jar file, navigate to the “Files” menu. Choose the “Plugins” folder and upload the VyHub plugin into that designated folder. This step ensures seamless integration and unlocks the additional features and capabilities offered by the VyHub plugin on your Exaroton server.

Restart Your Server
Restart your server. In the console, you’ll receive confirmation that the VyHub plugin has been successfully loaded. Now, it’s time to execute the setup command. Retrieve the setup command from the setup dialog in VyHub, accessible when creating your Minecraft server. For additional details, refer to the server setup guide. With this, your server is now equipped with VyHub integration, enhancing your Minecraft experience.
Wrapping up
Congratulations! You’ve successfully created your first Exaroton server and seamlessly installed the VyHub plugin. For more in-depth information and resources, explore our documentation. If you have any questions or want to engage with our community, feel free to join our Discord. Your Minecraft adventure is now ready to unfold—happy gaming!
